
1 Blue Batmobile's Guide to applying Vinyl Overlays! Sun Jan 06, 2013 2:19 pm
newcars
Admin
A step by step on how to apply my Vinyl Overlays, particularly on curved surfaces!
by Andy (dubbleA@peoplepc.com) @ https://s2.photobucket.com/albums/y42/BlueBatmobile2005/
1. Make sure surface is clean before starting.

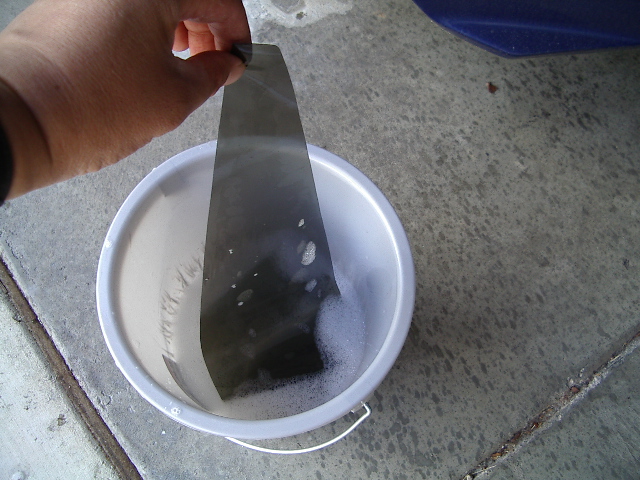
2. Peel Overlay from backing and dip in a bucket of warm soap and water. I usually squirt just a dab of dish washing liquid in a bucket and fill it halfway.
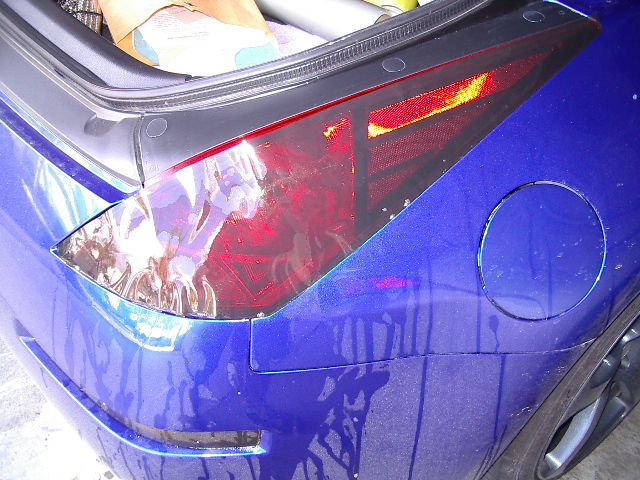
3. Carefully place Overlay on surface, and position it.
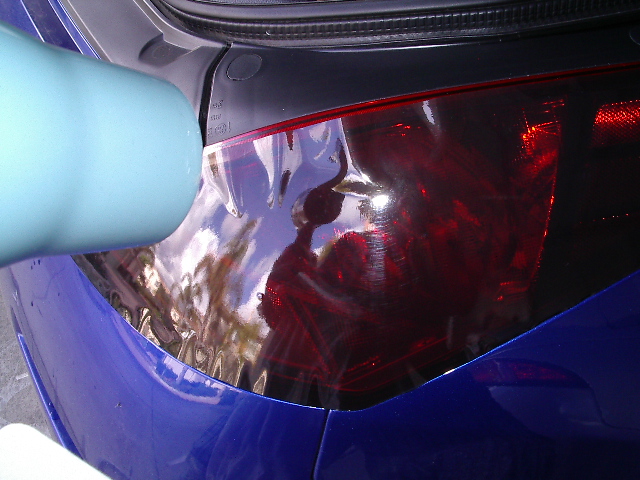
4. Once you have the Overlay placed exactly where you want it. Start by heating up one end. This will help the vinyl become pliable and easy to work with.
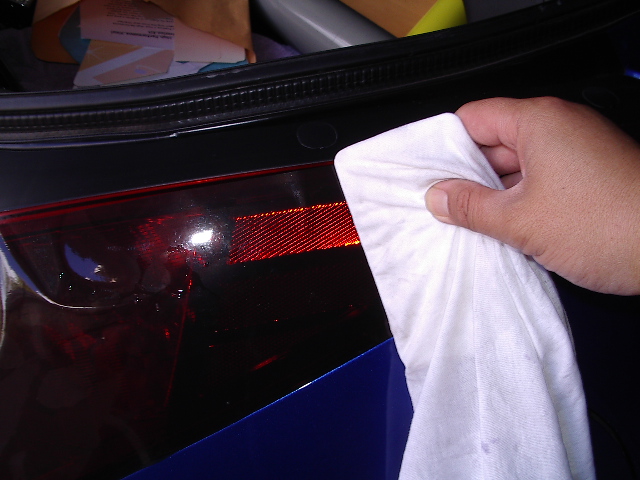
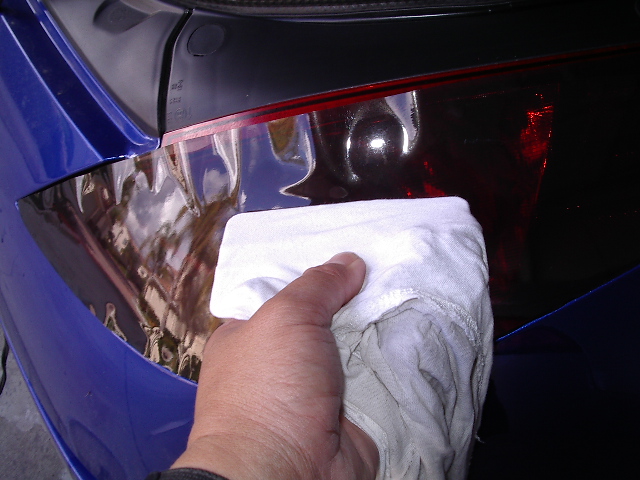
5. Then, take a squeegee or credit card and wrap it in a soft damp cloth to prevent scratching the Overlay. Start by applying pressure from one end and slowly work your way across the center of it.

6. Now, you may be discouraged because of all the wrinkles toward the ends. Don't be. Begin heating the sides up.
7. Now, slowly work your squeegee from the middle outward. Do it slowly. This will ensure the vinyl is dispersed evenly over the surface.

8. Any overlapping areas can be tucked under the edges. Again, use a hairdryer, then tuck Overlay.
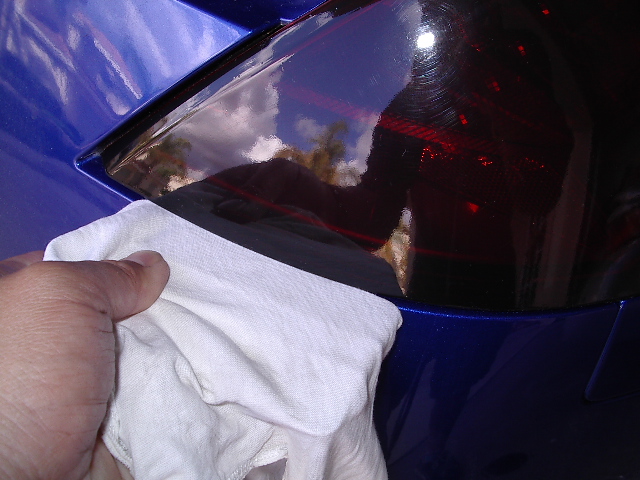
9. Tada!

source:http://www.celicahobby.com/forums/ubbthreads.php/topics/326117/Blue-Batmobile-s-Guide-to-applying-Vinyl-Overlays.html
by Andy (dubbleA@peoplepc.com) @ https://s2.photobucket.com/albums/y42/BlueBatmobile2005/
1. Make sure surface is clean before starting.
2. Peel Overlay from backing and dip in a bucket of warm soap and water. I usually squirt just a dab of dish washing liquid in a bucket and fill it halfway.
3. Carefully place Overlay on surface, and position it.
4. Once you have the Overlay placed exactly where you want it. Start by heating up one end. This will help the vinyl become pliable and easy to work with.
5. Then, take a squeegee or credit card and wrap it in a soft damp cloth to prevent scratching the Overlay. Start by applying pressure from one end and slowly work your way across the center of it.
6. Now, you may be discouraged because of all the wrinkles toward the ends. Don't be. Begin heating the sides up.
7. Now, slowly work your squeegee from the middle outward. Do it slowly. This will ensure the vinyl is dispersed evenly over the surface.
8. Any overlapping areas can be tucked under the edges. Again, use a hairdryer, then tuck Overlay.
9. Tada!
source:http://www.celicahobby.com/forums/ubbthreads.php/topics/326117/Blue-Batmobile-s-Guide-to-applying-Vinyl-Overlays.html